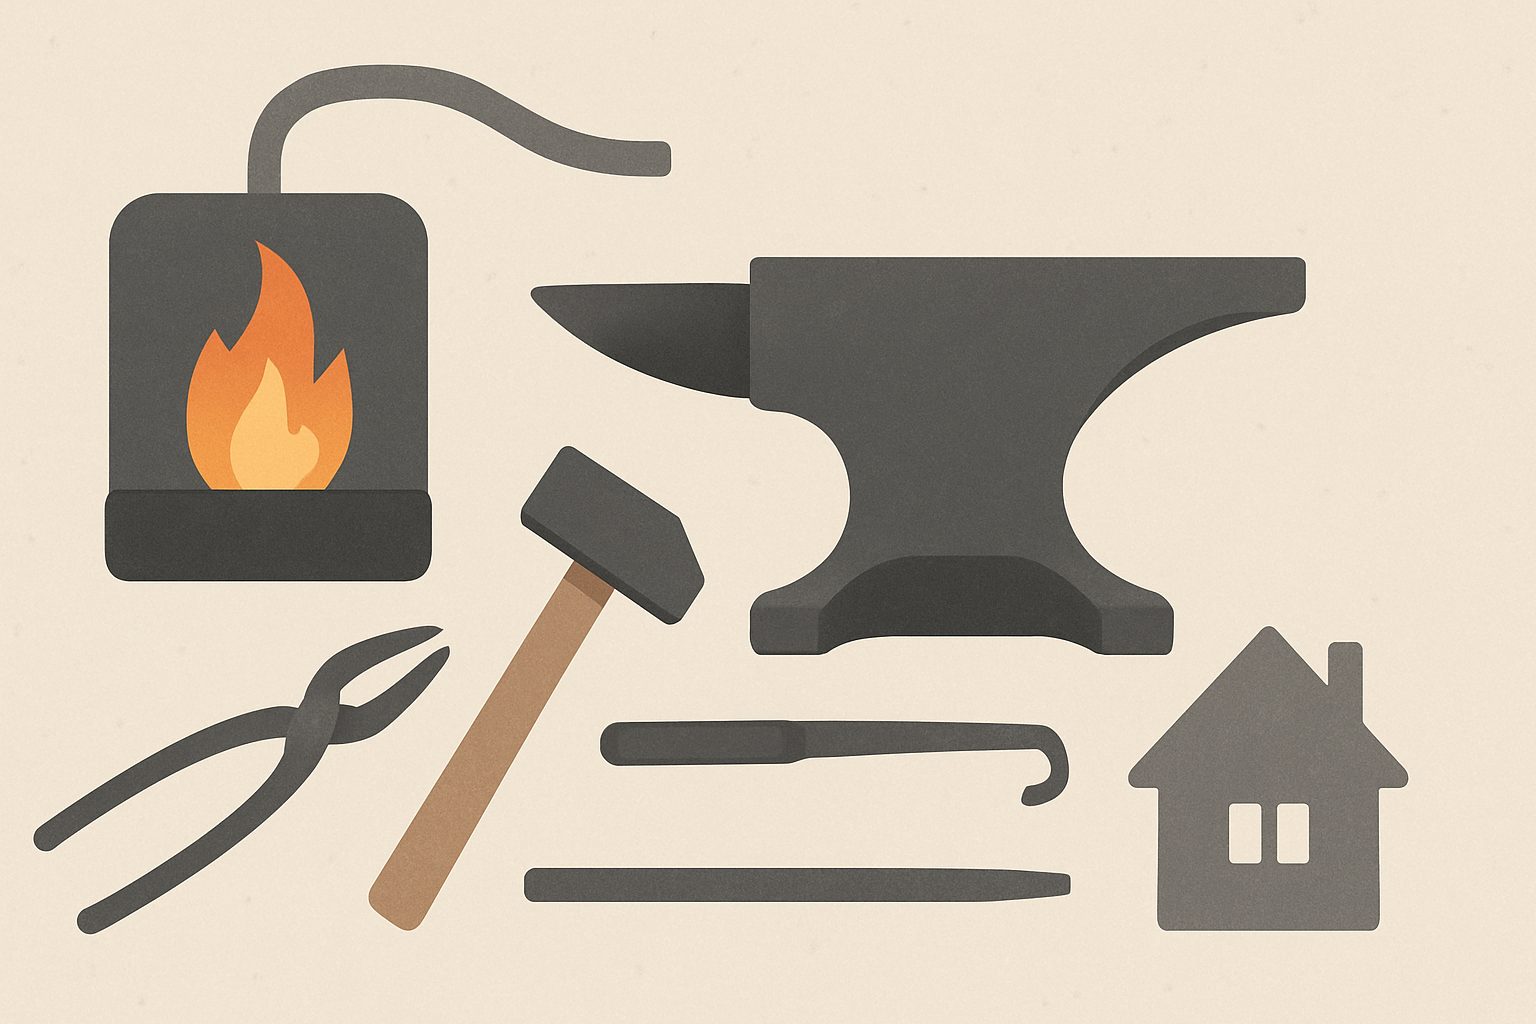
How to Build a DIY Propane Forge at Home in the UK (Step-by-Step)
A propane forge is the gateway tool for serious blacksmithing. Unlike coal forges, propane units heat faster, reach higher temperatures, and don't fill your workshop with ash and smoke. Building one yourself costs roughly half what you'd pay for a commercial unit, and you'll understand every component—invaluable when troubleshooting flame spread or temperature control later.
This guide walks you through building a functional forge from a steel shell up to first fire. If you've welded before, you'll find it straightforward. If not, the critical joints are simple enough for a competent fabricator to manage.
Tools and Materials
Steel shell: A 12-inch internal diameter steel pipe, roughly 18 inches long, works well. Scrap 3mm steel plate for the ends, cut to fit snugly inside and welded in place. You'll spend £15–30 on scrap if you know a local fabricator, or collect offcuts.
Refractory wool: High-temperature ceramic fibre, 50mm thick, rated to at least 1200°C. Expect £20–40 for a sheet large enough to line your forge. Cheaper alternatives exist (rock wool, mineral wool), but they degrade faster and flake into the work.
Rigidiser: This ceramic binder binds loose wool fibres together and seals the surface. A litre costs £10–15 and goes far. It's essential—without it, your burner will erode the wool, and fibres shed into your work.
IFB floor: Insulating Fire Bricks (IFB) or a castable refractory floor. Three to four IFBs (£3–5 each) or a small bag of castable refractory (£15–25) depending on your forge depth.
Burner: A single-port burner rated 200,000–300,000 BTU. Budget burners start around £40–60; quality units are £80–150. Mounting hardware and propane line cost an extra £15–20.
Welding supplies, silicone sealant, mild steel angle iron for a stand.
Building the Shell
Start with your steel pipe. Measure it carefully and mark where your end plates go. The sealed end can be solid; the burner end needs a port—typically a 1-inch hole drilled through one of the end plates or the side of the cylinder near the top.
If you're using separate end plates, tack-weld them in position, then run a continuous bead inside and outside. Clean the welds—they don't need to be pretty, but they must not leak. Pressure-test by sealing the open end, spraying soapy water inside, and letting a small amount of propane gas through the burner port. You should see no bubbles.
If welding isn't your skill, many small fabrication shops will assemble the shell for £30–50.
Installing Refractory Wool
Measure the inside diameter and length of your shell. You'll wrap the ceramic wool around the interior walls. Score a single line down the length of a 50mm wool sheet with a craft knife—don't cut all the way through, just enough to guide a tight roll. Carefully roll it and slide it into the pipe, scored edge facing the gap.
Use high-temperature silicone sealant (£8–12 per cartridge) to fill any gaps where the wool meets the shell or the end plates. This stops heat loss and prevents burner flame from reaching the bare steel behind the wool.
Trim excess wool from around the burner port with a utility knife. The hole should be clean and tight; loose fibres will burn away quickly.
Rigidiser Application
This is critical and often skipped by budget builders—don't. Dilute rigidiser according to the instructions (typically 1:1 or 1:2 with water) and brush it onto the entire interior surface of the wool, especially the area in front of the burner. Let it cure fully (12–24 hours, check the label). A second coat gives better durability.
Rigidiser hardens the wool surface into a ceramic shell, making it resistant to erosion and preventing fibres from drifting. Without it, your forge loses efficiency and your work picks up particles.
IFB Floor
The floor takes more wear than anywhere else. IFB bricks are denser than ceramic wool and stay put under a hammer.
Lay bricks on the bottom of the forge, butting them close together. You can use a thin refractory mortar between them, or just stack them dry—either works. The bricks don't need to cover 100% of the base; a grid pattern with gaps for airflow is fine. If you go the castable refractory route, mix and pour it to a depth of 25–50mm, let it cure fully (usually 48 hours), then light-fire it gently before use.
Mounting the Burner
Burner mounting depends on your burner type. Most have a threaded coupling designed to mount through a threaded port on the forge. If your forge end plate doesn't have a threaded port, you can fabricate one or use a simple bracket to clamp the burner to the exterior.
Position the burner so its flame path runs the length of the chamber—not angled steeply up or down. The flame should kiss the far end but not slam into it; this creates an even heat gradient and good work space.
Connect your propane regulator to the burner inlet via a high-temperature hose. Test for leaks with soapy water at the regulator, hose couplings, and burner inlet before pressurising.
First Fire and Safety Notes
Before your first burn, cure the forge by lighting at low pressure and gradually increasing over 10–15 minutes. This drives off moisture from the refractory and rigidiser without thermal shock. The interior will likely glow a faint orange or yellow; keep it there for 30 minutes. Then step up to medium heat and hold for another 20 minutes.
Always work outdoors or in well-ventilated space. A propane forge produces carbon monoxide. Never leave a lit forge unattended, and store your propane bottle upright in a cage away from heat sources.
The forge is now ready for work. You'll next want to fine-tune your burner design, experiment with different refractory materials as experience builds, and eventually design a budget-conscious version for others.
More options
- Devil Forge Propane Gas Forge (Single & Double Burner) (Amazon UK)
- Blacksmithing Anvil (Cast Steel, 55–110 lb) (Amazon UK)
- Ceramic Fibre Blanket Refractory Wool (Kaowool 2600) (Amazon UK)
- Blacksmithing Tongs and Hammer Starter Set (Amazon UK)
- Leather Blacksmith Apron and Welding Gloves PPE Bundle (Amazon UK)